
You are looking for information, articles, knowledge about the topic nail salons open on sunday near me curling iron case pattern free on Google, you do not find the information you need! Here are the best content compiled and compiled by the Chewathai27.com team, along with other related topics such as: curling iron case pattern free curling iron travel case, diy curling iron travel case, flat iron case, flat iron travel case sewing pattern, diy flat iron case, diy curling iron sleeve, ironing board cover fabric
Contents
Travel Curling Iron Sleeve Sewing Pattern – The Polka Dot Chair
- Article author: www.polkadotchair.com
- Reviews from users: 20013
 Ratings
 - Top rated: 4.5
- Lowest rated: 1
- Summary of article content: Articles about Travel Curling Iron Sleeve Sewing Pattern – The Polka Dot Chair Updating …
- Most searched keywords: Whether you are looking for Travel Curling Iron Sleeve Sewing Pattern – The Polka Dot Chair Updating Learn how to make a travel curling iron sleeve with this free sewing pattern. A cute heat resistant pouch for a curling iron or flat iron.
- Table of Contents:
How to Sew a Travel Curling Iron Sleeve
More Sewing
Primary Sidebar
Footer
Curling Iron Travel Case Sewing Pattern – Ameroonie Designs
- Article author: amerooniedesigns.com
- Reviews from users: 35975 Ratings
- Top rated: 4.9
- Lowest rated: 1
- Summary of article content: Articles about Curling Iron Travel Case Sewing Pattern – Ameroonie Designs Sew your own curling iron travel case with this free sewing pattern from top US sewing blog Ameroonie Designs. …
- Most searched keywords: Whether you are looking for Curling Iron Travel Case Sewing Pattern – Ameroonie Designs Sew your own curling iron travel case with this free sewing pattern from top US sewing blog Ameroonie Designs. Sew your own curling iron travel case with this free sewing pattern from top US sewing blog Ameroonie Designs. Click through for the tutorial.
- Table of Contents:
Curling Iron Travel Sleeve Sewing Pattern
Create strap for curling iron travel case
Sewing Tutorial ~ Curling Iron / Flat Iron Travel Case
- Article author: www.rebeccamaedesigns.com
- Reviews from users: 4690 Ratings
- Top rated: 3.6
- Lowest rated: 1
- Summary of article content: Articles about Sewing Tutorial ~ Curling Iron / Flat Iron Travel Case Updating …
- Most searched keywords: Whether you are looking for Sewing Tutorial ~ Curling Iron / Flat Iron Travel Case Updating Free Sewing Tutorial and Pattern for this adorable Curling iron or Flat iron Holder, perfect for travel or on the go to protect your hot iron!
- Table of Contents:
See more articles in the same category here: Top 975 tips update new.
Travel Curling Iron Sleeve Sewing Pattern
This Travel Curling Iron Sleeve would make a great gift for a loved one! It’s simple to make and oh so useful! Learn how to make one with this free sewing pattern.
Do you ever wake up on your last day of travel and debate whether or not you want to do your hair because you have to pack up your curling iron and you don’t want it to be hot? Well, I have a solution for you!
This curling iron travel sleeve is lined with cotton batting AND InsulBright to keep the heat left on your curling iron from melting anything you are packing. Note: It’s meant for a curling iron that has cooled down, not a very HOT curling iron.
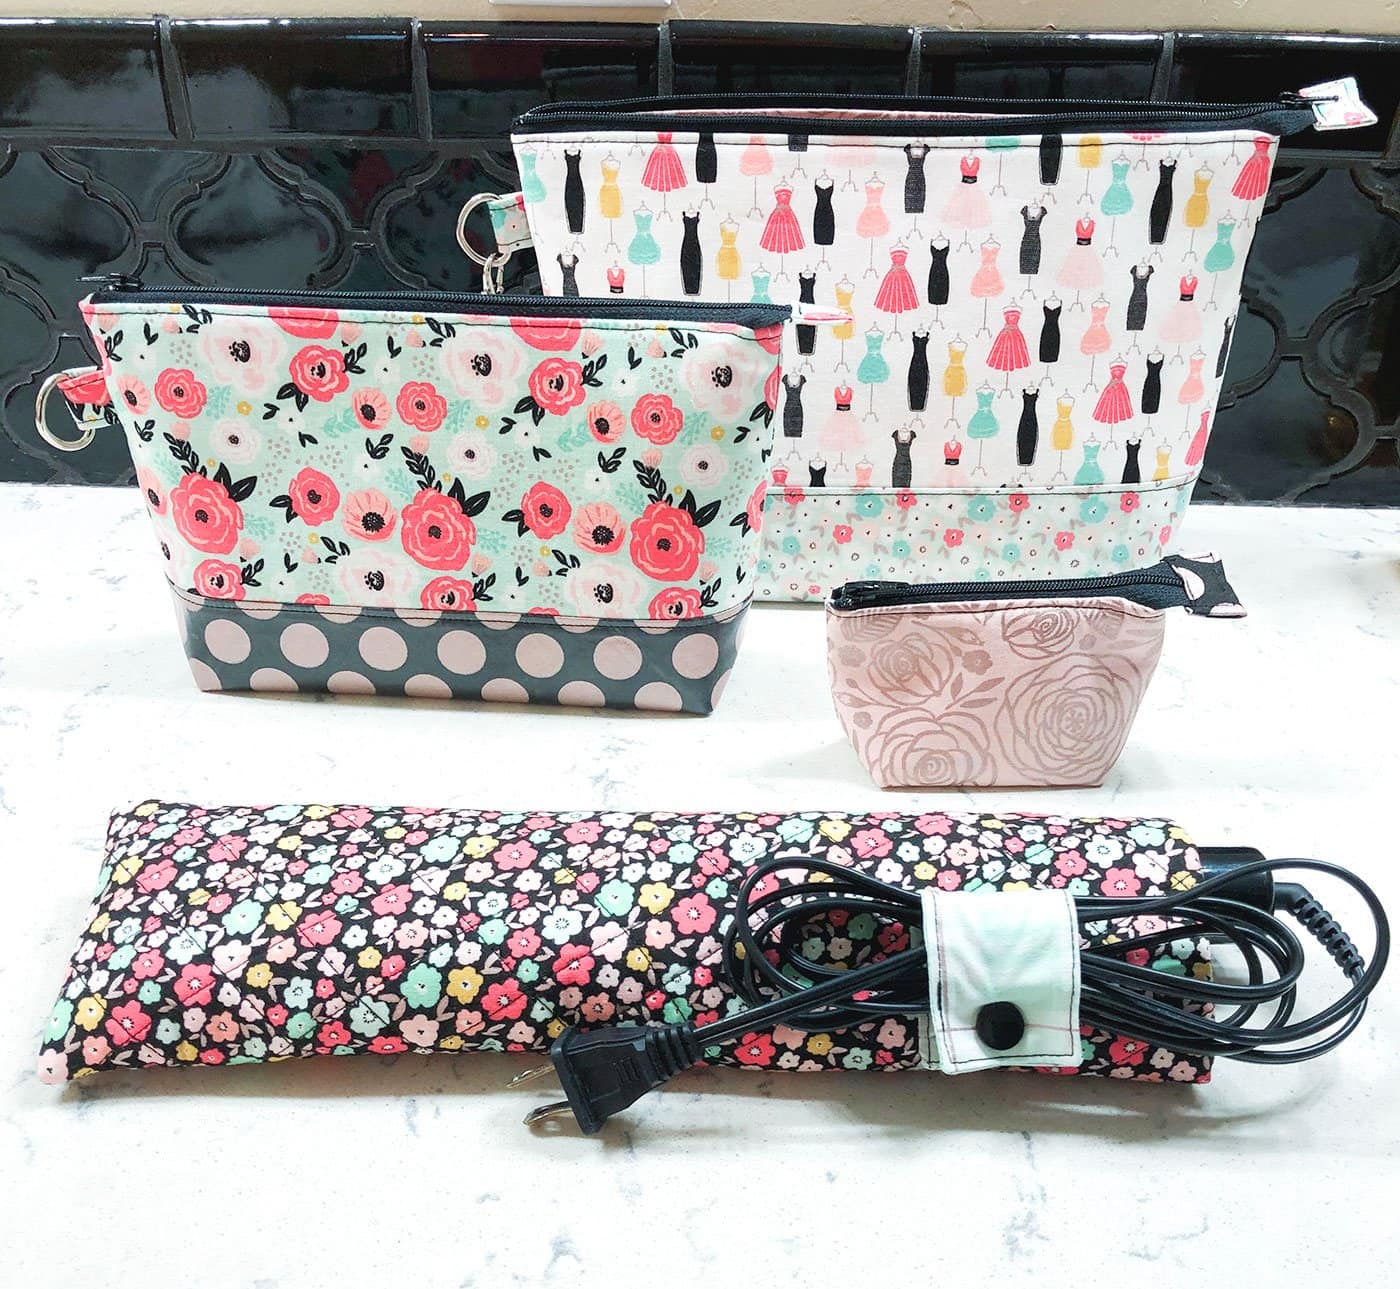
Created in much the same way as a hot pad/ pot holder this simple sleeve lets you use your curling iron and then pack it away when you are done. Plus, the strap keeps the cord in place, making your packing neat and tidy!
Add it to your set of nesting travel pouches and you are all ready to travel in style! Tutorial for the pouches can be found HERE.
How to Sew a Travel Curling Iron Sleeve:
[printfriendly]Travel Curling Iron Sleeve Supplies:
Fabric- one fat quarter will give you enough fabric, but you may want to use 2-3 prints for added interest.
½ Yard Cotton batting (or one piece at least 10″ x 14″): Do not use polyester, we want the heat buffering properties of cotton.
InsulBright Piece at least 9″ x 14″
Snap set or hook and loop tape for cord strap
Cutting Directions:
Cut from Fabric:
1- 8” X 13” piece (for lining)
1- 8 ½” X 13 ½” piece (for exterior)
2- 2” X 4 ½” pieces (for cord strap)
Cut From Cotton Batting: 8 ½” X 13 ½”
Cut From InsulBright: 8 ½” X 13 ½”
Travel Curling Iron Sleeve Construction Steps:
Time needed: 2 hours. Curling Iron Travel Sleeve Sewing Instructions Prepare Exterior Piece Layer your Insulbright, cotton batting and exterior fabric (right side up) in that order. Use basting spray or pins to keep in place.
Quilt all three layers together.
Trim down the quilted exterior piece to 8”X 13” Prepare Cord Strap: Place your two 2” X 4 ½” strips of fabric right sides together.
Sew around all 4 sides, leaving an opening of 1-2” on one long side to allow for turning.
Next, clip the corners and turn right side out. Press well, turning under the seam allowance of the opening.
To finish, topstitch around the cord strap.
If you are using snaps: measure in ¼” from each short side and mark the center. Place your snaps at each mark, with the male and female ends up on the same side of the strap.
If you are using hook and loop tape, cut a piece 1 ¼” long of both hook and loop pieces. Position one piece along one short side of the strap, sew around all 4 sides. Put the other piece of tape on the opposite end and side of the strap (hook will be on one side of one end, the loop piece will be on the other side of the other end) and sew around all 4 sides Sew Strap to Exterior: Place the strap 2” down from the top of the exterior piece. It should be perpendicular to the long edge of the exterior piece.
Mark the center of the strap and sew a ½” wide rectangle starting at the center mark and going toward the outside edge of the exterior. (the picture shows the stitching a little further over, but I like the look of centering the stitches better.) Finish Travel Curling Iron Sleeve: Place the lining right side down on the exterior of the sleeve.
Sew along the top seam using a ¼” seam allowance. Press the seam allowance toward the exterior.
Fold the sleeve in half along the length. Snap or secure the cord strap closed to keep it out of the seam allowance as we sew around the sleeve.
Sew around the three raw edges, leave an opening in the lining for turning. Again, use a ¼” seam allowance.
Clip corners and turn the whole sleeve right side out. Press out all seams and turn under the seam allowance of the opening.
Sew the opening in the lining closed.
Push the lining inside the sleeve. I find it helpful to use a long blunt tool, like a dowel, to push the lining all the way into the bottom of the exterior of the sleeve.
Press your sleeve well and you are done!
If you have more InsulBright to sew with you might love this Hot Pad and Trivet set
This Yellowstone Mini Quilt is a fun way to use your quilting skills or to practice them on a simple project!
And this Crossbody tote would be a fun addition to your travel accessories!
About the Maker:
Hi! My name is Amy Chappell and I blog over at Ameroonie Designs. I currently live in Wyoming with my husband and 6 kids. I love being a mom but needed an outlet that would give me something to do that stayed done, enter sewing and creating. Love the satisfaction of taking fabric and ideas and making something new. I also love that blogging has given me a way to meet new people and find a community of amazing people who love fabric and sewing as much as I do.
xoxo,
Amy
Ameroonie Designs
www.amerooniedesigns.com
These “Girly” Small Sewing Projects Also Make Great Gifts!
How to Make a Lipgloss Pouch
Flat Bottom Zipper Pouch Sewing Tutorial
Chapstick Laynard Sewing Tutorial
Curling Iron Travel Case Sewing Pattern
Want to curl your hair but you’re not sure it will cool enough to pack up in your suitcase? This Curling Iron Travel Case sewing pattern will help answer your problem! Layers of cotton batting and Insulbrite help protect your belongings from the residual heat from your cooling curling iron. *note: do not put a hot curling iron into the sleeve, allow it to cool as long as possible before putting the sleeve on.
And if you’re buying Insulbrite already, you may want to make yourself a beautiful new set of hot pads too!
Curling Iron Travel Sleeve Sewing Pattern
Supplies:
Fabric for exterior, lining and strap Out of main exterior fabric cut a piece 8 1/2″ wide by 9 1/2″ tall (if you do not want an accent strip, cut your main exterior fabric to 8 1/2″ wide by 13 1/2″ tall) Cut exterior accent fabric to 8 1/2″ wide by 4 1/2″ tall From lining fabric, cut a piece 8″ wide by 13″ tall For your strap, cut 2 pieces 2″ X 4 1/2″
Cotton Batting, cut to 8 1/2″ X 13 1/2″
Insulbrite (or a second layer of cotton batting) cut to 8 1/2″ X 13 1/2″
Snaps or Hook and Loop tape for closure on strap
Assemble Exterior of Case
First, sew your accent strip to the main exterior fabric on the 8 1/2″ side. Press the seam allowance toward the accent strip.
Next, use basting spray to layer the insulbrite, batting and your pieced exterior fabric together as shown.
Quilt the three layers together.
Finally, trim your exterior piece to 8″ X 13″
Create strap for curling iron travel case
Begin by placing the two strap fabric pieces right sides together.
Now, sew around all four sides of the fabric pieces, leaving an opening for turning on one long side. Back stitch at the beginning and ending of your stitching.
Next, clip the corners.
Turn the strap right side out.
Press well, turning the seam allowance of the opening under.
Finish by sewing around the strap with a top stitch.
Now, add your closure: If using snaps, center your snaps 1/4″ in from either side, the male and female sides of the snap should be on the same side. If using hook and loop tape, sew the loop side at one short end, then sew the hook side on the opposite side of the strap, at the opposite end.
Assemble the curling iron travel case
Position the strap 2″ down from the top of the exterior piece. If using snaps, the male and female ends of the snaps should be facing up, if using hook and loop tape, the side with the hook tape should be facing up.
Then, sew down the strap at the center of the strap. I like to sew a small rectangle on the side of the center mark of the strap, toward the center of the travel case.
Place the lining fabric right side down on top of the exterior fabric.
Sew across the top edge using a 1/4″ seam allowance.
Press the seam allowance toward the exterior.
Next, fold the case in half along the length.
Starting at one short end sew around the three raw sides of the travel case, leaving a 3-4″ opening in the lining fabric for turning.
Now, turn the curling iron travel case right side out.
Fold under the seam allowance of the opening in the lining and sew closed using a top stitch.
Push the lining inside the exterior of the curling iron travel case. I find it helpful to use a long blunt tool to get the lining all the way into the bottom of the case, like a dowel or chopstick.
Give your curling iron travel case one last press, and you are finished!
Sew it up with a set of Nesting Travel Pouches and you are set to go anywhere in style!
Sewing Tutorial ~ Curling Iron
Travel Case for Flat / Curling Iron ~
a Sewing Tutorial
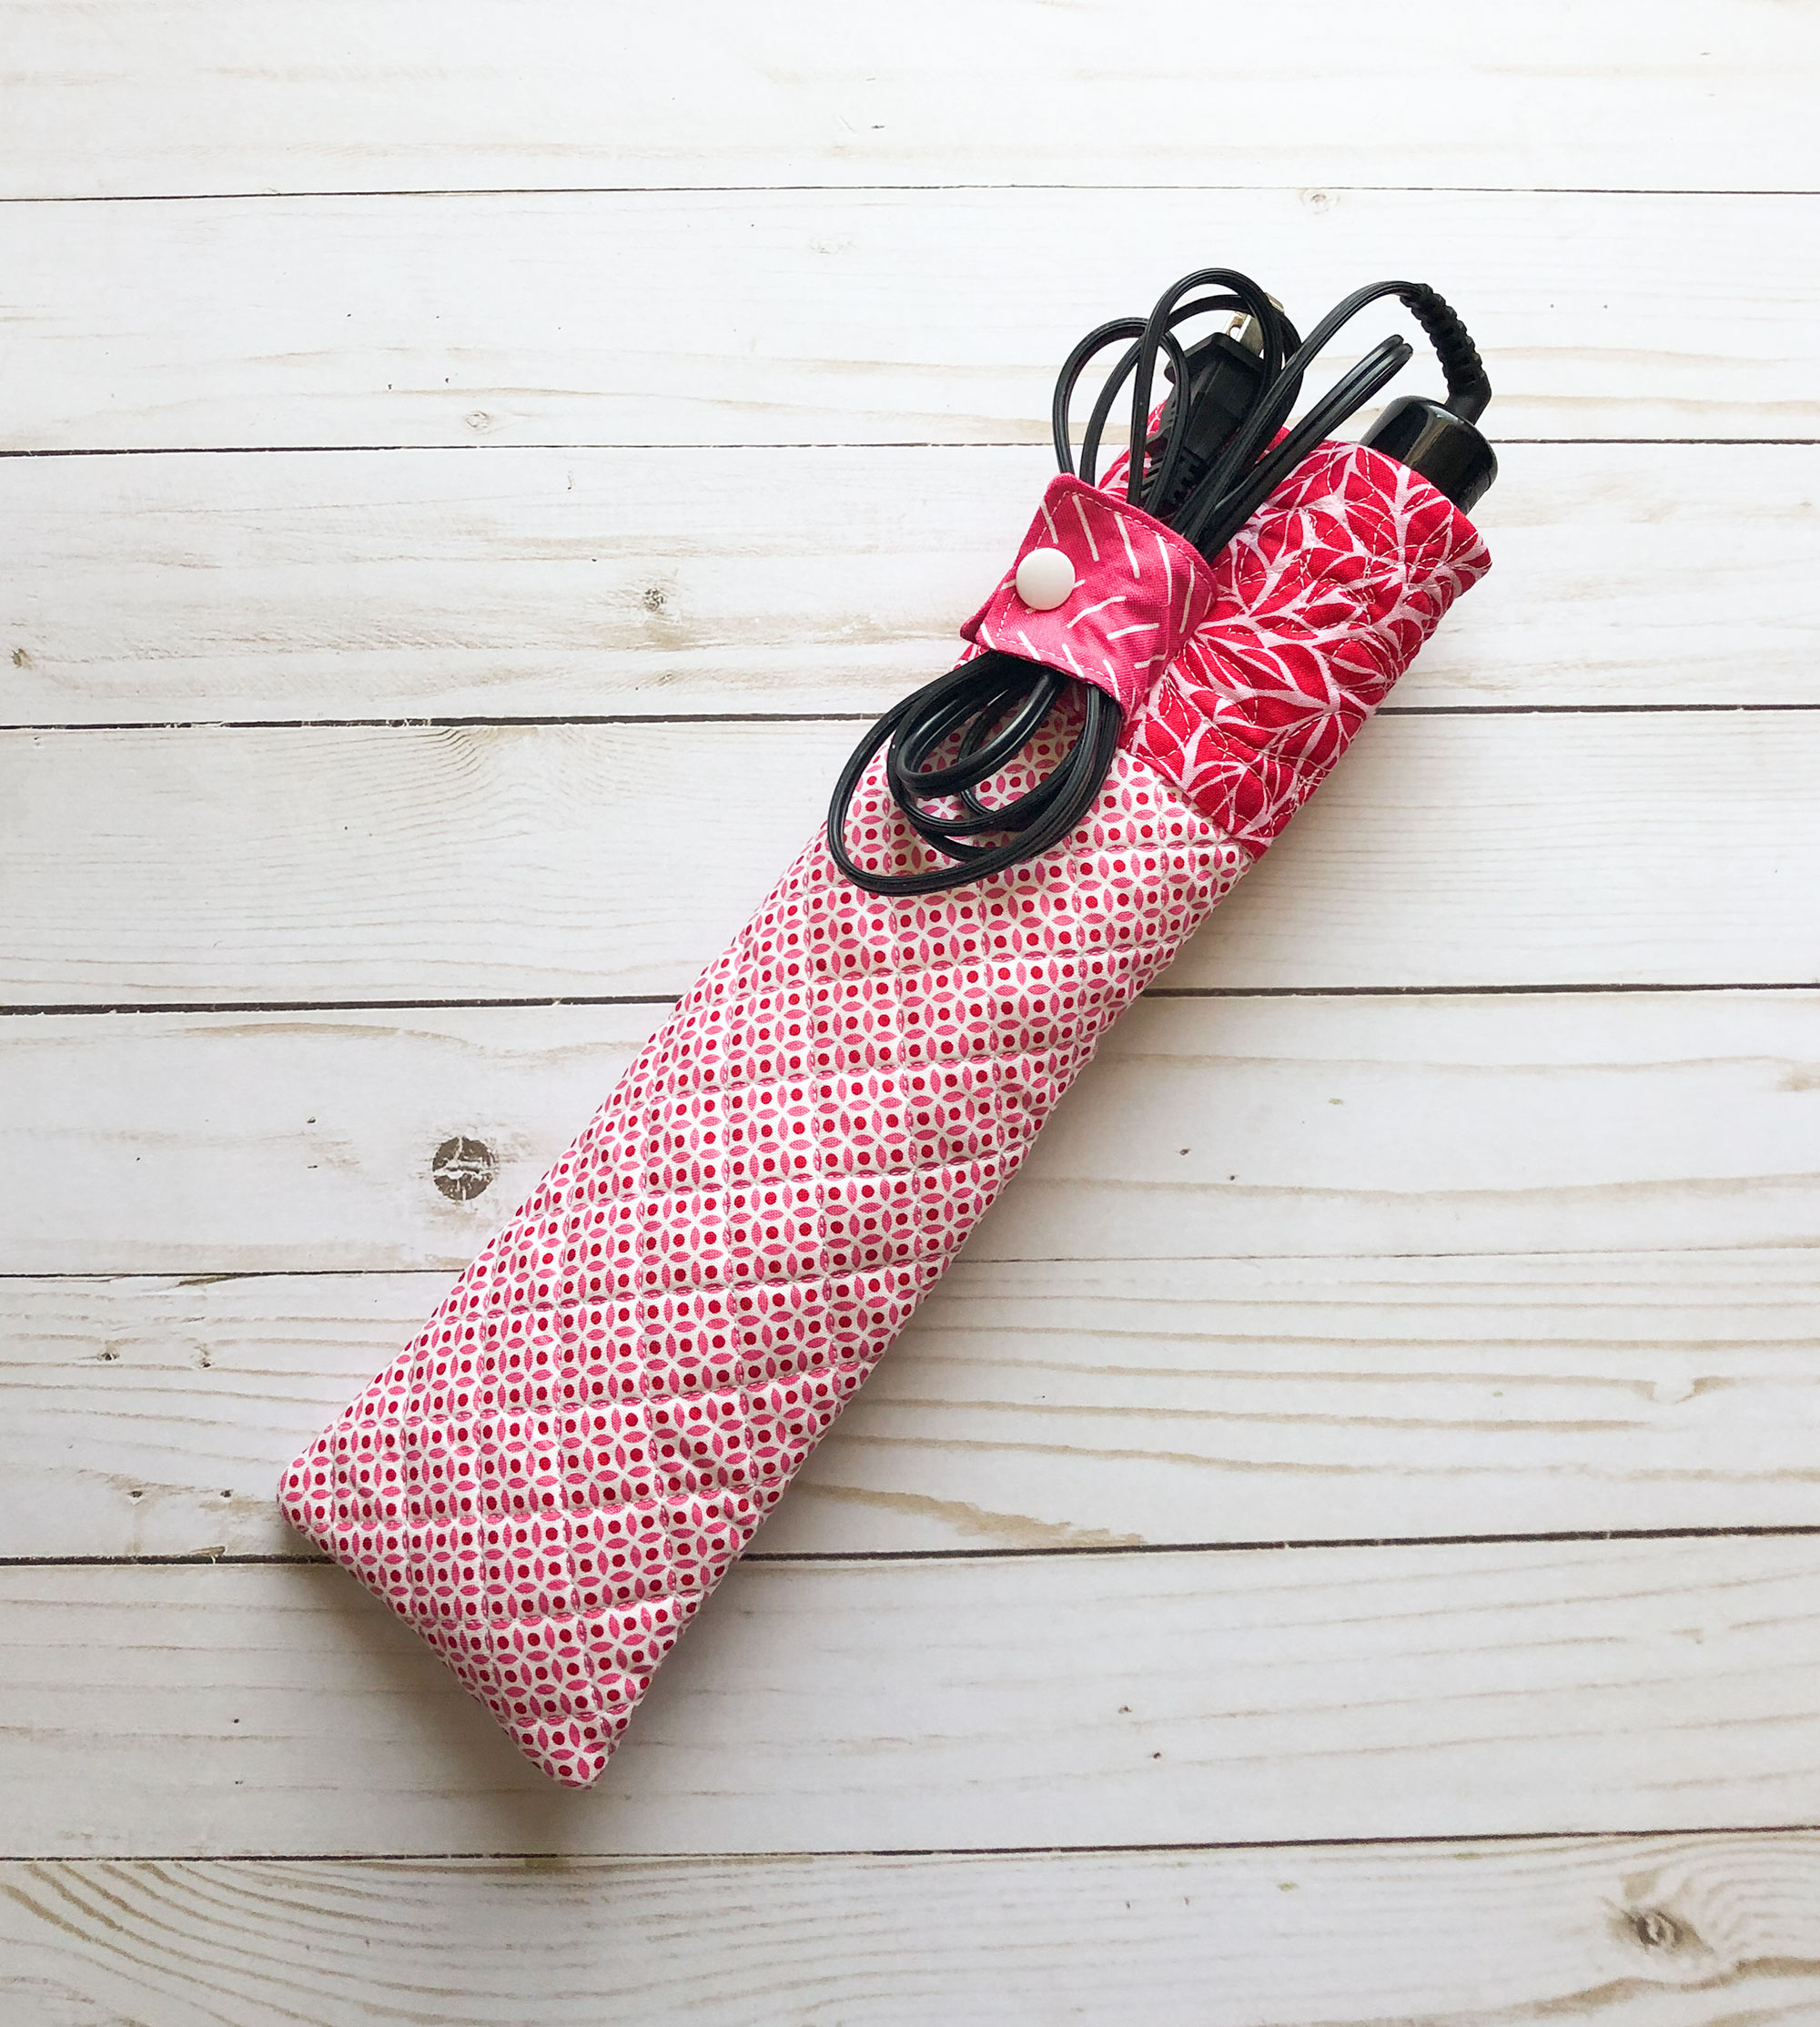
I’m in love… with all this pink!
This case isn’t just pretty… It’s insulated with Insul-Bright and perfect for packing a hot iron!
I teamed up with The Warm Company to bring you a tutorial and Give-Away!
Here are the supplies you need to make this case:
Body ~ exterior fabric 12” x 18”
Body ~ lining fabric 12” x 18”
Insul-Bright for body ~ 12” x 18”
Pocket fabric ~ 12″ x 11 1/2”
Pocket lining fabric ~ 12″ x 11 1/2”
Insul-Bright for pocket ~ 12″ x 11 1/2”
Binding ~ aprox 2 yards
Ribbon ~ 40”
Velcro Dots ~ 2 sets
You can find the complete tutorial below but here are a couple tips on quilting the case and binding the pocket…
QUILTING
I started with Insul-Bright so the case would be insulated. If you’re not familiar with this product you can use it to insulate anything ~ hot or cold! I use it in my Lunch Bag Tutorial AND my Potholder / Towel tutorial)
I layered the bag parts (Insul-Bright / fabric) following the tutorial and marked them for quilting using this hera marker I found on amazon. I used my ruler and marker to make marks at 1″ intervals to keep my stitching lines straight..
You can see the marks here…
After all my lines were marked, I just stitched right on them!
BINDING
After my quilting was done I got my binding strip aligned on the top edge. I lined up the raw edge of the binding with the raw edge of the pocket and stitched the binding on with 1/4″ seam.
Then I flipped the fold edge to the back of the pocket, top stitched along the binding catching the back (fold) of the binding on the lining side! Easy!
Place your quilted layers together and bind around all the edges, add your velcro… Done and Done!
Find out more about Insul-Bright here.
Want to make one too? You can!
Please pin this tutorial and share!
PRINTABLE PDF is below…
Here is the Flat Iron Case PDF.
If you are new to my site, find more free tutorials on my
TUTORIALS PAGE.
And don’t forget to visit my shop for patterns, fun sewing machine clocks, quilt-a-longs, mitten patterns and more!
The Warm Company is giving away
FIVE PACKAGES of Insul-Bright!!! (US residents)
To enter:
Like The Warm Company on FB
and/or
Pin this post on Pinterest!
Comment that you did! Easy!
I’ll pick and post the winners on Sunday 4/26/15!
Sorry this Drawing is closed but Please Pin and Share this tutorial!
Share it ~ Pinterest
Tumblr
So you have finished reading the curling iron case pattern free topic article, if you find this article useful, please share it. Thank you very much. See more: curling iron travel case, diy curling iron travel case, flat iron case, flat iron travel case sewing pattern, diy flat iron case, diy curling iron sleeve, ironing board cover fabric