
Contents
DON’T USE SUPER GLUE! Try This Instead..(Epoxy Adhesive/5-Minute Epoxy/Epoxy Glue)
นอกจากการดูบทความนี้แล้ว คุณยังสามารถดูข้อมูลที่เป็นประโยชน์อื่นๆ อีกมากมายที่เราให้ไว้ที่นี่: ดูเพิ่มเติม
AFFILIATE TOOL/MATERIAL LINKS:
Loctite 5min Epoxy (SelfMixing Nozzle):
https://amzn.to/2NdQP1x
Gorilla 5min Epoxy (2Pack):
https://amzn.to/2OwNriV
JB Weld 5min Epoxy PRO SIZE:
https://amzn.to/3tfC65B
Devcon 5min Epoxy PRO SIZE:
https://amzn.to/3qHljGP
JB Weld Plastic Bonder:
https://amzn.to/3eE6uCC
Loctite Metal/Concrete Epoxy:
https://amzn.to/3eB54ss
Loctite Marine Epoxy:
https://amzn.to/3ttrsIP
(These are affiliate links. When you shop through these links, we receive a small commission at NO EXTRA CHARGE TO YOU. We greatly appreciate the support!)
FOLLOW US ON INSTAGRAM:
https://www.instagram.com/thehonestcarpenter
FOLLOW US ON LINKEDIN:
https://www.linkedin.com/in/thehonestcarpenter
Check Out Our Other Videos:
THIS TOOL HELPS RESTORE DOORS AND WINDOWS!:
https://youtu.be/99hivBluW2o
USE A MITER SAW AS A RADIAL ARM SAW:
https://youtu.be/tYwJt2Ge8E
DON’T USE SUPER GLUE! Try This Instead..(Epoxy Adhesive/5Minute Epoxy/Epoxy Glue)
Many people turn to super glue for small household repairs. And super glue is good…but there’s something better for many applications. This short video from The Honest Carpenter will teach you all about fastsetting epoxy adhesives!
EPOXY ADHESIVES are twopart adhesive compounds. They generally consist of a RESIN and a HARDENER.
When you mix the two parts together, they undergo a chemical reaction, and a very strong bond is formed!
This bond is measured in TENSILE STRENGTH.
The average strength of many domestic epoxies is 1500 PSI to 4000 PSI.
Epoxies are often categorized by the amount of time it takes them to set. 5minute epoxies are very common and popular.
To use 5minute epoxies, simply break off the cap (save it) and push the syringe plungers to eject the two chemicals. Mix them in the supplied plastic mixing tray with a small piece of wood or plastic.
(Use gloves and goggles for safety when doing this!)
Swirl the two epoxy chemicals together thoroughly, then trowel them onto the area you want to repair or attach. Bond your desired components.
You’ll often need to keep some pressure on the repair for several minutes. You can do this with finger pressure, or possibly small clamps if you can place them.
Though cold temperatures can slow things down, a decent bond should be formed in roughly 5 minutes. Now, let the repair further harden and cure for a full day and night. You’ll have a repair that is incredibly strong.
Thanks for watching!
Be sure to visit us at The Honest Carpenter Website:
www.thehonestcarpenter.com

Resin Painting for Beginners
Resin used in this video was Stone Coat Countertops Art Coat (https://www.stonecoatcountertops.com/artcoatgallonkits/?aff=20). There are many, many types of resin. Differences in resins will include work time, yellowing factor, smell, etc.
Things you can use to color resin: Resin tints, inks, acrylic paints, mica powders, glitter, nail polish, eye shadow, etc.
You will need either a torch or a heat gun to get rid of the air bubbles. They also heat the resin up to make it easier to move around. You can also use a hairdryer to move the resin around, though it will not get rid of all the air bubbles.
Once complete, a resin painting takes about 24 hours to cure. You will need to make sure it dries level and in a dust and windfree environment. An easy way to do this is to cover it with a box or container.
After it is dry, you can add another layer of resin on it as desired, either a clear coat or an additional layer of color for depth. Just sand in between coats. With resin, you can also add in other things such as rocks, sequins, glitter, gold leaf, etc. etc. The possibilities are endless 🙂
Learn everything you need to know about acrylic pouring in my new online workshop: https://mixedmediagirl.com/courses/
DONATE VIA PAYPAL: https://bit.ly/2tzEMxC
MMG MERCH: https://teespring.com/stores/mixedmediagirl
PURCHASE THE ART SUPPLIES I USE HERE:
US: https://www.amazon.com/shop/mixedmediagirl
UK: https://www.amazon.co.uk/shop/mixedmediagirl
CANADA: https://www.amazon.ca/shop/mixedmediagirl
AUSTRALIA: https://amzn.to/35CCFhx
JOIN OUR FLUID ART FB GROUP: https://www.facebook.com/groups/2276432182636447/
BECOME A PATRON OF MY ART: https://www.patreon.com/MixedMediaGirl
PURCHASE MY ART: https://mixedmediagirl.com/shop/
Some of the links in this description are affiliate links and I may earn a commission from your purchase at no additional cost to you. I ONLY recommend items that I have used and love 🙂
THIS VIDEO IS INTENDED FOR ADULTS.

How To Use Two-Part Resin Epoxy Glue
Please SUBSCRIBE, COMMENT \u0026 VISIT:\r
http://www.doctorcrankyslabratory.com/

How to use Gorilla epoxy glue to fix a plastic plunger for our juicer
How to Gorilla epoxy glue to fix a plastic plunger for our juicer

DIY Wood Repairs With Epoxy Glue
AFFILIATE TOOL LINKS:
Loctite 5min Epoxy:
https://amzn.to/3kKrfO9
Devcon 5min Epoxy (larger amount):
https://amzn.to/3kJLI5J
Irwin Quick Clamps:
https://amzn.to/2MTKcS4
(These are affiliate links. When you shop through these links, we receive a small commission at NO EXTRA CHARGE TO YOU. We greatly appreciate the support!)
FOLLOW US ON INSTAGRAM:
https://www.instagram.com/thehonestcarpenter
FOLLOW US ON LINKEDIN:
https://www.linkedin.com/in/thehonestcarpenter
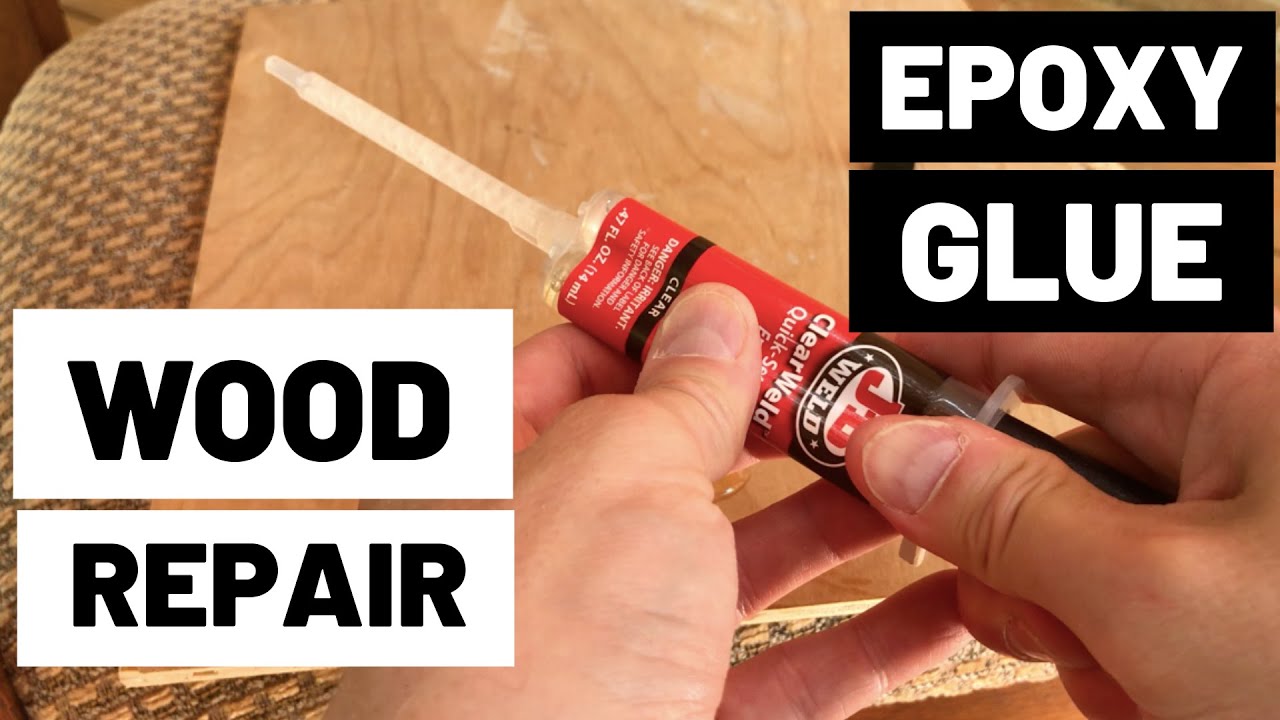
Epoxy glue is one of the strongest adhesives on the market, and it’s perfect for wood repairs. But, most homeowners I meet have never heard of it! This video from The Honest Carpenter will show you how to repair fractured or broken wood using epoxy glue and just a few simple tools!
Epoxy Glue is often called \”Twopart Epoxy\” because it comes as two separate chemicals packaged togetherepoxy resin, and a hardener. It is also often called \”Five Minute Epoxy\” because most brands set up in five minutes.
Work Time: 5 minutes
Dry Time: 1 hour
Cure Time: 24 hours
(NOTE: epoxy glue is caustic and can be harmful to sensitive skin. You should wear gloves when using epoxy glue to bond your wood repairs!)
I have used JB Weld’s epoxy glue here because it has one of the highest yields on the market: 4400 psi! There are numerous other types of epoxy glue, including epoxies for marine use, and specific plastics and metals. Be sure to take note of exactly which epoxy you are purchasing when planning your wood repairs.
Tools:
Irwin quick clamps (optional)
Wood or Cardboard mixing board
Old Paint Brush (optional)
Materials:
Epoxy Glue
Painter’s Tape (optional)
Paper Towel
HowTo:
1) If possible, dry fit pieces of broken wood back together. (Wood tends to fracture cleanly, which makes repairs like this much easier.)
2) Open your package of epoxy glue and separate cap, mixing paddle and nozzle (if present)
3) Squeeze out a nickelsized blob of epoxy glue onto wood mixing board
4) Mix epoxy glue with a screw or stick. If your product comes with a mixing nozzle, simply attach the nozzle and press the plunger. Epoxy will come out premixed.
5) Use a small brush to wipe the glue over both surfaces to be bonded. Some manufacturers recommend sanding lightly first to create more grip to the surfaces.
6) Squeeze pieces of wood repair together and create pressure with fingertips. Use a paper towel to wipe off epoxy \”squeeze out\”.
7) Use a clamp, if you have one, to hold the two pieces of the wood repair together. Make sure the clamp doesn’t have any glue on it’s clamping faces! Also be sure not to use a metal clamp that will mar the wood, unless you also use a soft pad of some sort.
8) Let sit for at least 5 minutes. (I prefer to keep clamp on for an hour or more.)
9) Remove clamp from wood repair.
10) Allow 24 hours for curing before applying any pressure to wood repair!
Visible cracks in wood repair can sometimes be colored in with a stain pen, or simply some paint.
Thanks for watching the video! If you enjoyed it or found it informative, please hit LIKE AND SUBSCRIBE.
Be sure to visit us at The Honest Carpenter website for more tips, tricks, articles, projects, and product links!
www.thehonestcarpenter.com
นอกจากการดูหัวข้อนี้แล้ว คุณยังสามารถเข้าถึงบทวิจารณ์ดีๆ อื่นๆ อีกมากมายได้ที่นี่: ดูวิธีอื่นๆCUISINE