
Contents
How to insert an image into another image Photoshop | EASY EXPLANATION
นอกจากการดูบทความนี้แล้ว คุณยังสามารถดูข้อมูลที่เป็นประโยชน์อื่นๆ อีกมากมายที่เราให้ไว้ที่นี่: ดูเพิ่มเติม
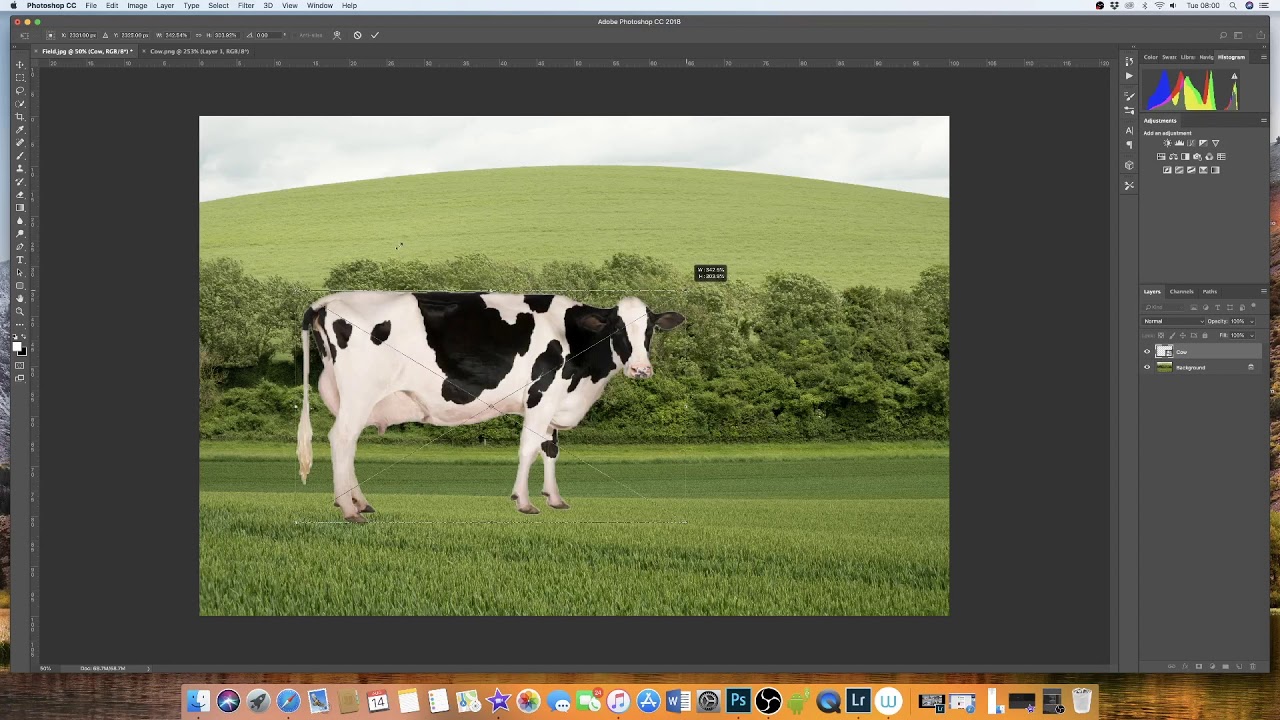
This tutorial shows you how to insert an image into another image in photoshop. It will show you the tricks to resizing the image without it pixelating and how to move the second image around your page.
First I show you how to open your image in photoshop and then how to open a second image and place it into you first image. This technique is used for so many different projects such as posters, flyers, online adverts, paper adverts, art work and much more.
I this example I have demonstrated this technique using a landscape image with a PNG file (Image without a background) of a cow. I believe this would be the best way to demonstrate perspective and the way in which you may need to resize your image. The cow image is a high quality image which means it will be sharp and large on the background. If the image is of poor quality it will be pixelated, blurry or small. In order to correctly complete this task your images must match in quality and/or size.
Once your second image has been inserted by simply dragging and dropping it on top of the background image you can then turn it into a ‘smart object’. This is key to maintaining the quality of the image. If the image you wish to resize is not a smart object you will find it difficult to make changes to the size once you have committed to the first change. Turning it into a smart object will allow you to make it very small, commit to the change and then go back an increase the size of the image again if you change you mind WITHOUT loosing any quality.
Once you are happy with you changes you can then ‘rasterise’ the second image (cow) so that you can make other changes such as using the clone stamp tool etc.
With Smart Objects, you can:
Perform nondestructive transforms. You can scale, rotate, skew, distort, perspective transform, or warp a layer without losing original image data or quality because the transforms don’t affect the original data.
Work with vector data, such as vector artwork from Illustrator, that otherwise would be rasterized in Photoshop.
Perform nondestructive filtering. You can edit filters applied to Smart Objects at any time.
Edit one Smart Object and automatically update all its linked instances.
Apply a layer mask that’s either linked or unlinked to the Smart Object layer.
Try various designs with lowresolution placeholder images that you later replace with final versions.
You can’t perform operations that alter pixel data—such as painting, dodging, burning, or cloning—directly to a Smart Object layer, unless it is first converted into a regular layer, which will be rasterized. To perform operations that alter pixel data, you can edit the contents of a Smart Object, clone a new layer above the Smart Object layer, edit duplicates of the Smart Object, or create a new layer.
Smart Objects are layers that contain image data from raster or vector images, such as Photoshop or Illustrator files. Smart Objects preserve an image’s source content with all its original characteristics, enabling you to perform nondestructive editing to the layer.
In Photoshop CC and CS6, you can embed the contents of an image into a Photoshop document. In Photoshop CC, you can also create Linked Smart Objects whose contents are referenced from external image files. The contents of a Linked Smart Object are updated when its source image file changes.
Linked Smart Objects are distinct from duplicated instances of a Smart Object within a Photoshop document. With Linked Smart Objects, you can use a shared source file across multiple Photoshop documents which is a familiar and welcome concept for web designers.
I’ve benefited so much by adding objects, people, items, etc onto other images. It’ allowed me to produce facebook ads, marketing material, powerpoint presentations, personalised birthday cards and even placing people and pets into a photo for a gift. Sometimes when taking group shots, one person can be blinking or not smiling so it’s useful to be able to place another/better/smiley face into the image to then make an overall better image.
How To Merge Layers When Using Photoshop CC 2020 #2MinuteTutorial
Another Tuesday 2 minute Tutorial and today isHow To Merge Layers When Using Photoshop CC 2020. This works when using Photoshop CC 2020 and other older photoshop versions like Photoshop CS6 .It also works on all types of photos and artwork. So make sure to have a look at the preselected photos on my website to follow along with this tutorial.
2MinuteTutorial
I hope this video helps and don’t forget to subscribe for more awesome videos just like this 🙂
LINKS:
📸 Photo Used:
https://unsplash.com/photos/nctP5BtTD0
🥇My Patreon
https://www.patreon.com/photographybyfeaver
🌇 Etsy Presets and actions Shop:
https://www.etsy.com/uk/shop/photographybyfeaver
👕 Official Merchandise
https://teespring.com/enGB/stores/photographybyfeaver
🌐 Website
https://photographybyfeaver.com
📺 Instagram @photographybyfeaver
https://www.instagram.com/photography.by.feaver/

Difference between Merge and Flatten in Photoshop
Easy guide on the differences between merging layers and flattening layers in Photoshop.
How To Unmerge Layers in Photoshop
HOW TO UNMERGE LAYER IN PHOTOSHOP:
In this Photoshop tutorial learn about how to unmerge layers in Photoshop and other some tools like Layer, Selection, Deselect etc. If you accidentally merged layers and you want to unmerge layers again for your personal / professional work. This video is for your lesson as beginner and very useful tutorial for your salvage your artwork.

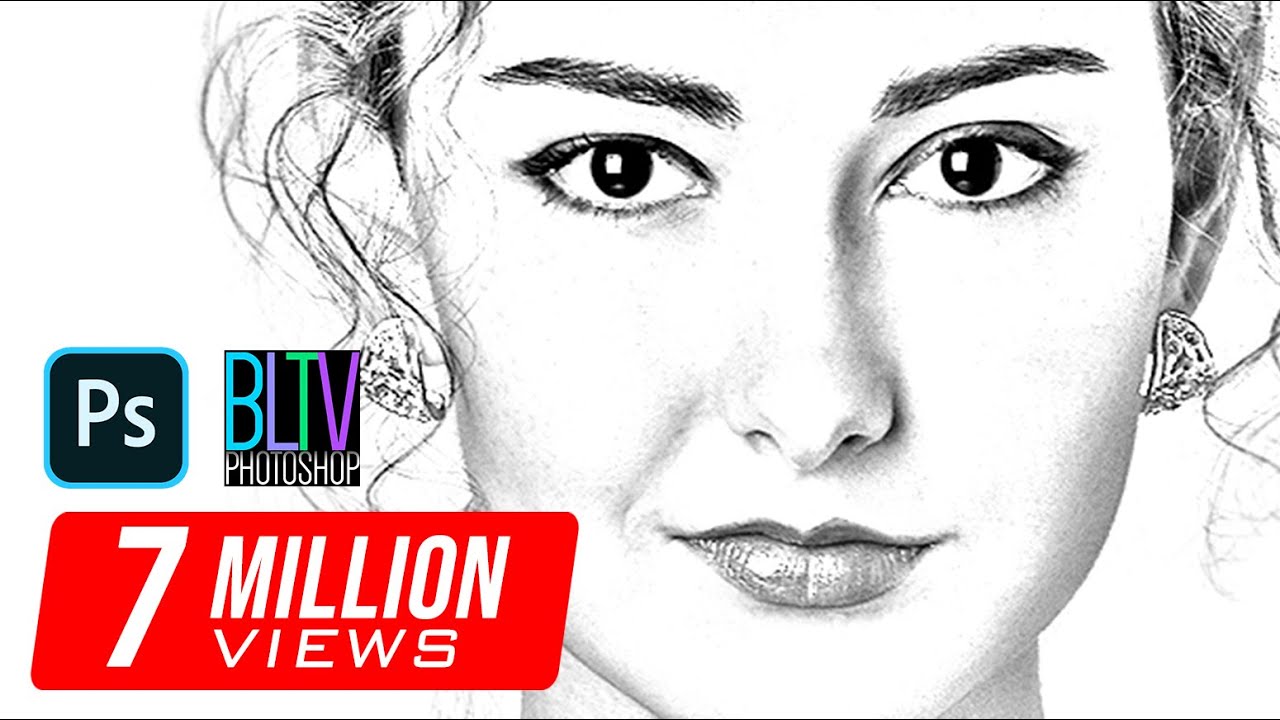
Photoshop Tutorial: How to Transform PHOTOS into Gorgeous, Pencil DRAWINGS
Photoshop CS6 tutorial showing how to transform photos into subtle, gorgeous pencil drawings.
Subscribe to Blue Lightning TV!:
https://www.youtube.com/user/bluelightningtv?sub_confirmation=1
Become a Channel Member:
https://www.youtube.com/channel/UCDfJlseFwUx2X0h3m5PRILA/sponsor
Support Blue Lightning TV on Patreon for as little as $2/month!
https://www.patreon.com/bluelightningtv
You’ll receive early access to watch my new tutorials ONE WEEK BEFORE the public can see them on YouTube. AND, you’ll receive 10% off all of my merch sold at Redbubble, TeeSpring \u0026 Society6!
BLTV MERCH:
https://www.redbubble.com/people/bltv/portfolio
https://teespring.com/stores/bluelightningtv
https://society6.com/bltv
Facebook:
https://goo.gl/fHLJsh
Twitter:
https://twitter.com/bluelightningtv
นอกจากการดูหัวข้อนี้แล้ว คุณยังสามารถเข้าถึงบทวิจารณ์ดีๆ อื่นๆ อีกมากมายได้ที่นี่: ดูบทความเพิ่มเติมในหมวดหมู่WIKI