
Contents
How to Turn Off Windows Defender SmartScreen Filter in Windows 10?
นอกจากการดูบทความนี้แล้ว คุณยังสามารถดูข้อมูลที่เป็นประโยชน์อื่นๆ อีกมากมายที่เราให้ไว้ที่นี่: ดูความรู้เพิ่มเติมที่นี่
How to Turn Off Windows Defender SmartScreen Filter in Windows 10?
Step 1: Click on the Search box, and then type ‘settings,’ and then click on ‘settings’ app to open it.
Step 2: Click on ‘Update \u0026 Security,’ and then click on ‘Windows Security.’
Step 3: Click on ‘App \u0026 Browser Control.’
Step 4: Now Click on ‘off’ button under ‘check apps and files,’ ‘SmartScreen for Microsoft Edge’ and ‘SmartScreen for Microsoft Store Apps.’
It’s done
Thanks for watching, please like and subscribe
==============================================
YouTube Subscribe: https://goo.gl/4lCCN8
Patreon: https://www.patreon.com/TechMeSpot
Facebook: https://www.facebook.com/techmespot
Twitter: https://twitter.com/techmespot
Website: http://techmespot.com
howto SmartScreenFilter Windows10
How To Turn Smartscreen Filter On/Off Windows 10
Showing different applications and situations where you might want to disable the Smartscreen Filter.
This tutorial will apply for computers, laptops, desktops,and tablets running the Windows 10 operating system (Home, Professional, Enterprise, Education) from all supported hardware manufactures, like Dell, HP, Acer, Asus, Toshiba,Lenovo, and Samsung).

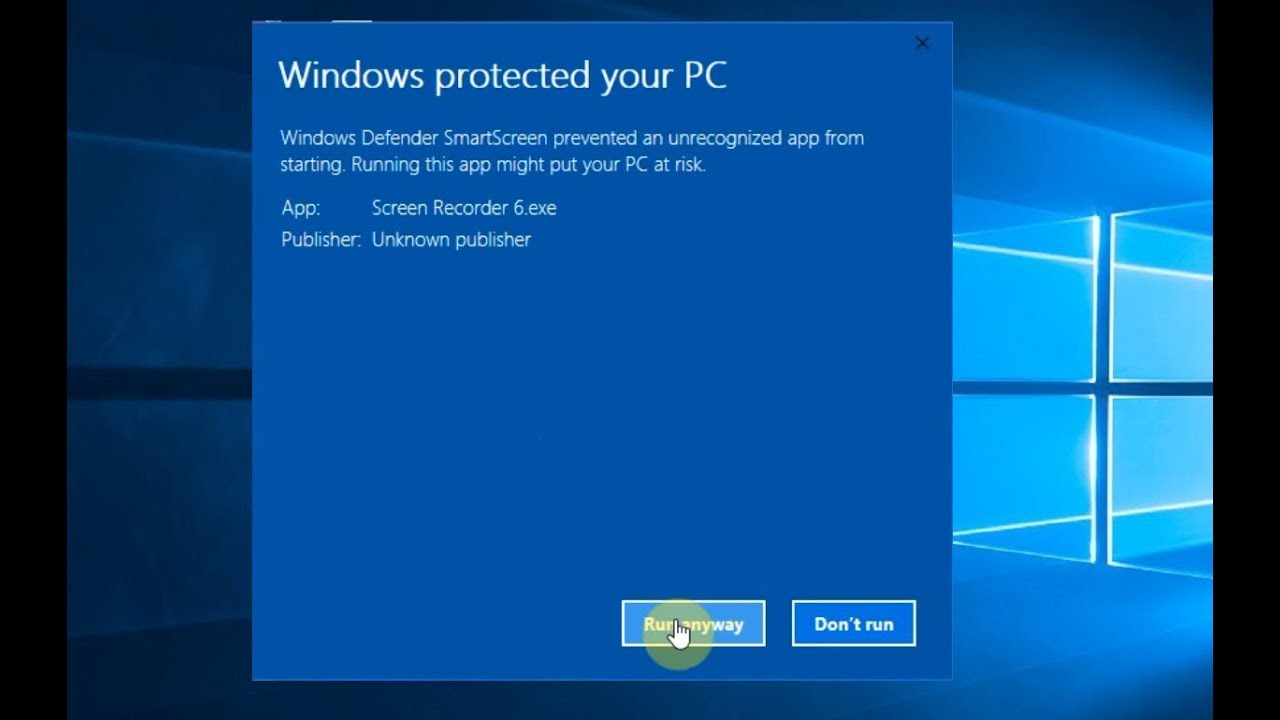
How to Disable Warning Message \”Windows Protected Your PC\” on Windows 10
How to Disable Warning Message \”Windows Protected Your PC\” on Windows 10
How to disable Windows Defender SmartScreen Filter in Windows 10 Creators Update
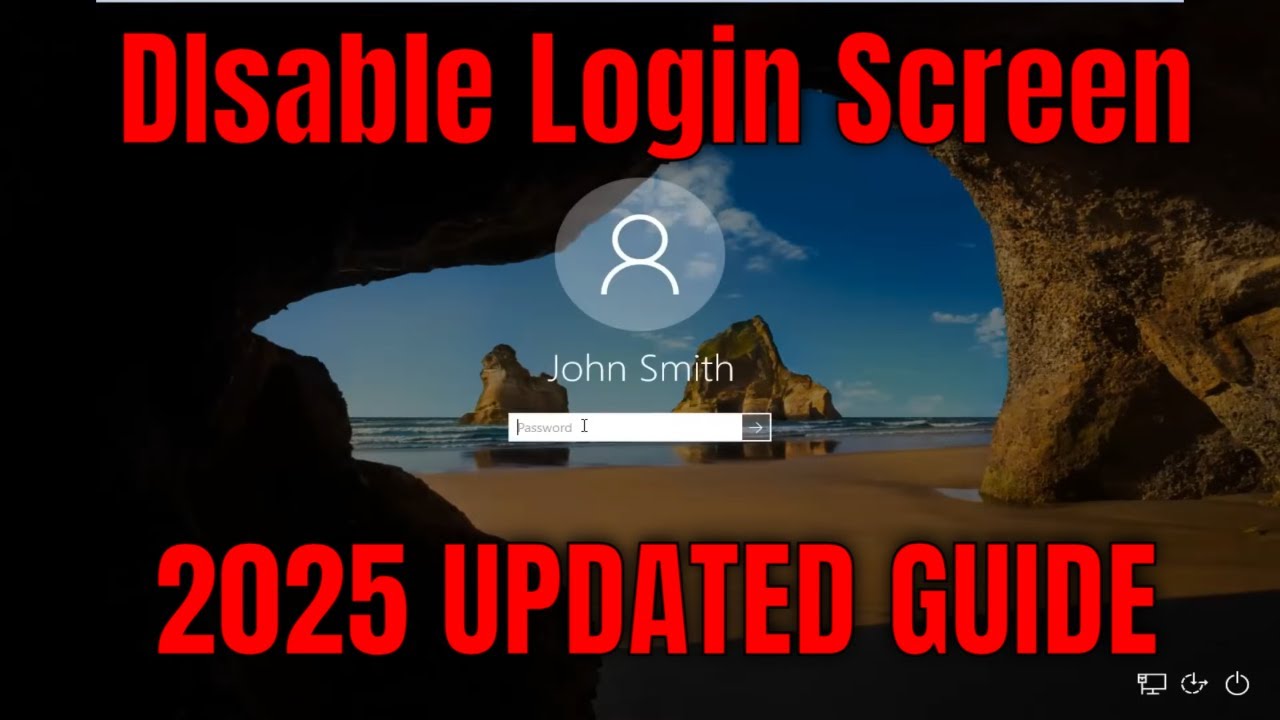
How to Disable Windows 10 Login Password and Lock Screen
How to Disable Windows 10 Login Password and Lock Screen.
If check box is missing: https://www.youtube.com/watch?v=9ix50kHa2g
This tutorial will show you how to skip or bypass the login screen every time you start your Windows 10 computer, laptop, or tablet.
This will be accomplished by having Windows 10 login by automatically having Windows log you into your system without having to type in a password. It will type in your Windows password for you, without the need for any keyboard or mouse input. In essence, you are seeing how to how to disable the Windows 10 login password screen. This tutorial will not show you how to enter your computer without a password if you lost your password.
Topics addressed in this tutorial:
disable login password Windows 10
disable login screen Windows 10
disable login screen Windows 7
disable login screen after sleep Windows 10
disable login after sleep in Windows 10
disable login animation Windows 10
disable login in Windows 10
disable login on Windows 10
disable login password Windows 7
disable login password Windows 8.1
disable password login screen Windows 10
disable login Windows 10
disable login Win 10
disable login Windows 8.1
disable password login Windows 10
Starting with Windows 8 and continuing into the modern Windows 10, users must type their password before logging into their account after booting or when switching user accounts. This Windows 10 password login screen will appear by default for any user account with which a password is associated.
While strong account passwords are important to maintain the security of your device, not every user wants or needs to enter their password every time they boot their PC. Thankfully, an option exists for users to disable and bypass the Windows 10 login screen, thus automatically log directly into their account when booting. Here’s how to do it:
First, log into your Windows 10 user account as you normally do by entering your password at the login screen. Next, click Start (or tap the Windows Key on your keyboard) and type netplwiz. The “netplwiz” command will appear as a search result in the Start Menu search. Hit Enter on your keyboard or click on the resulting start menu option to run it, and then follow the simple steps outlined in the tutorial above.
This tutorial will apply for computers, laptops, desktops, and tablets running the Windows 10 operating system (Home, Professional, Enterprise, Education) from all supported hardware manufactures, like Dell, HP, Acer, Asus, Toshiba, Lenovo, and Samsung).
Hướng dẫn sửa lỗi Windows protected your PC trên Win 10 \”Windows SmartScreen in win 10\”
Sửa Lỗi \”windows protected your pc\”
win 10
sửa lỗi máy tính laptop
Bản quyền : Vịt Vớ Vẩn
Nếu có kiến nghị và mọi ý kiến xin gửi về [email protected]
Cảm ơn các bạn đã theo dõi video của mình !!! :))))

นอกจากการดูหัวข้อนี้แล้ว คุณยังสามารถเข้าถึงบทวิจารณ์ดีๆ อื่นๆ อีกมากมายได้ที่นี่: ดูวิธีอื่นๆWIKI