
당신은 주제를 찾고 있습니까 “keyframe velocity after effects – Learn From the Pros | Keyframe Easing with Sergei Prokhnevskiy | Adobe After Effects Tutorial“? 다음 카테고리의 웹사이트 https://chewathai27.com/you 에서 귀하의 모든 질문에 답변해 드립니다: https://chewathai27.com/you/blog. 바로 아래에서 답을 찾을 수 있습니다. 작성자 Adobe Creative Cloud 이(가) 작성한 기사에는 조회수 14,009회 및 좋아요 233개 개의 좋아요가 있습니다.
Select the keyframe you want to edit, and then choose Animation > Keyframe Velocity. Enter values for Speed for Incoming and Outgoing Velocity. Enter a value for Influence to specify the amount of influence toward the previous keyframe (for incoming interpolation) or the next keyframe (for outgoing interpolation).When you create spatial changes in a layer, After Effects uses Auto Bezier as the default spatial interpolation. Note: To change the default to linear interpolation, choose Edit > Preferences > General (Windows) or After Effects > Preferences > General (Mac OS), and select Default Spatial Interpolation To Linear.
Table of Contents
keyframe velocity after effects 주제에 대한 동영상 보기
여기에서 이 주제에 대한 비디오를 시청하십시오. 주의 깊게 살펴보고 읽고 있는 내용에 대한 피드백을 제공하세요!
d여기에서 Learn From the Pros | Keyframe Easing with Sergei Prokhnevskiy | Adobe After Effects Tutorial – keyframe velocity after effects 주제에 대한 세부정보를 참조하세요
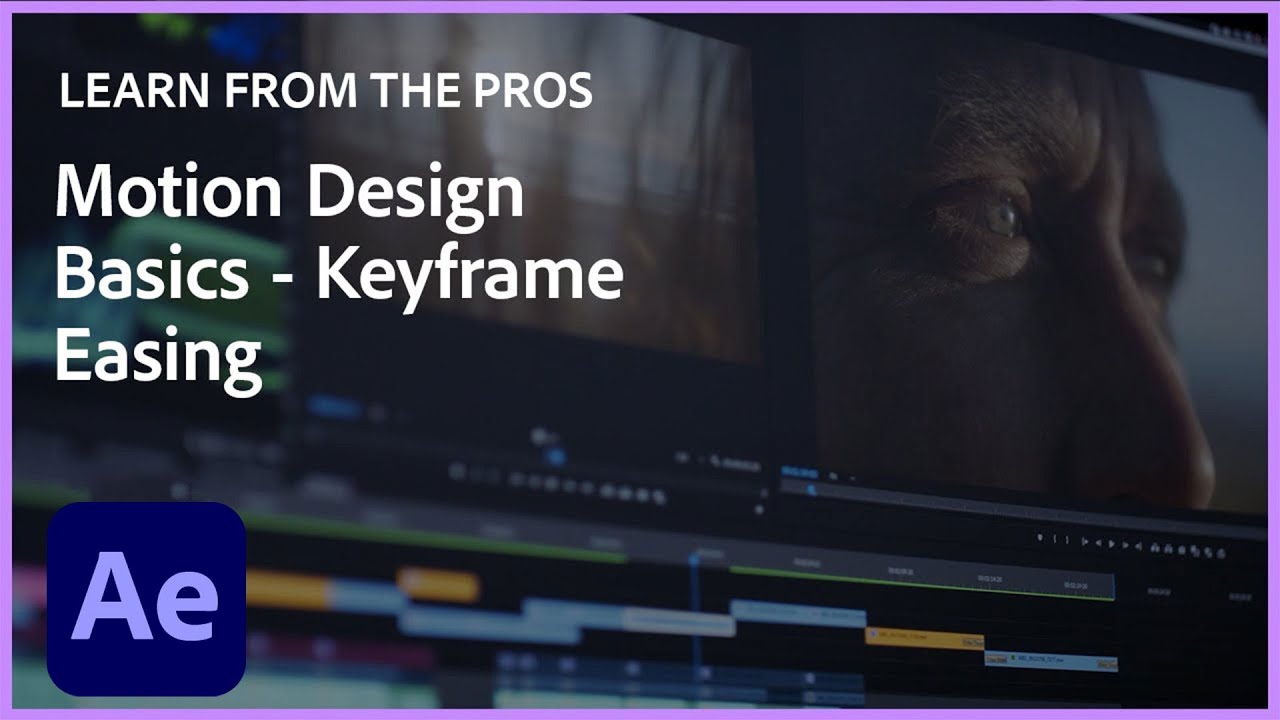
Part Nine of our Learn from the Pros series for After Effects continues with Sergei Prokhnevskiy. Learn to use the Keyframe Velocity Menu and the Speed Graph Editor to help refine your animations.
Download the project files: https://adobe.ly/aeprojectkit
More videos from our Learn from the Pros Series: adobe.ly/learnaftereffects
Subscribe to Sergei’s YouTube Channel: https://www.youtube.com/user/ukramedia
Subscribe to our channel: https://www.youtube.com/user/adobecreativecloud?sub_confirmation=1
LET’S CONNECT
Facebook: http://facebook.com/adobecreativecloud
Twitter: http://twitter.com/creativecloud
Instagram: http://www.instagram.com/adobecreativecloud/
Adobe Creative Cloud gives you the world’s best creative apps so you can turn your brightest ideas into your greatest work across your desktop and mobile devices.
To watch with Subtitles/closed captions, click the CC icon in the lower-right corner.
#AfterEffects #Tutorial #AfterEffectsTutorial
keyframe velocity after effects 주제에 대한 자세한 내용은 여기를 참조하세요.
Video Tutorial: How to Fine-Tune Keyframes in Adobe After …
Keyframes bring an After Effects project to life, so in this veo tutorial, … select a keyframe and go to Animation > Keyframe Velocity.
Source: www.premiumbeat.com
Date Published: 11/25/2021
View: 2514
Learn How Keyframe work in After Effects – MotionIsland Blog
Linear In/Hold Out – Has constant incoming velocity, outgoing hold value. Linear Keyframe The default after effects keyframe make objects/layers travel at a …
Source: blog.motionisland.com
Date Published: 12/28/2021
View: 274
How do you keyframe velocity in after effects?
Select the keyframe you want to edit, and then choose Animation > Keyframe Velocity. Enter values for Speed for Incoming and Outgoing Velocity.
Source: yycnewcentrallibrary.com
Date Published: 8/20/2021
View: 7030
Creating Motion Graphics with After Effects, 5th Edition [Book]
4 Keyframe Velocity The secrets to creating sophisticated animations In the previous chapter, you learned how to animate. In this chapter, you will learn …
Source: www.oreilly.com
Date Published: 11/18/2021
View: 7823
주제와 관련된 이미지 keyframe velocity after effects
주제와 관련된 더 많은 사진을 참조하십시오 Learn From the Pros | Keyframe Easing with Sergei Prokhnevskiy | Adobe After Effects Tutorial. 댓글에서 더 많은 관련 이미지를 보거나 필요한 경우 더 많은 관련 기사를 볼 수 있습니다.
주제에 대한 기사 평가 keyframe velocity after effects
- Author: Adobe Creative Cloud
- Views: 조회수 14,009회
- Likes: 좋아요 233개
- Date Published: 2020. 5. 15.
- Video Url link: https://www.youtube.com/watch?v=FMrV6rPOlJY
How do I change keyframe interpolation in After Effects?
When you create spatial changes in a layer, After Effects uses Auto Bezier as the default spatial interpolation. Note: To change the default to linear interpolation, choose Edit > Preferences > General (Windows) or After Effects > Preferences > General (Mac OS), and select Default Spatial Interpolation To Linear.
How do you slow down a keyframe in after effects?
To simply speed up or slow down in After Effects is super easy. Just right click on your clip > Go to “Time” > “Time Stretch”, then change you percentage to the desired speed. That’s it!
How do you speed a keyframe in Premiere?
- Choose the clip you want to edit. Right-click or Ctrl-Click the clip you want to edit.
- Show Clip Keyframes. Choose Show Clip keyframes > Time Remapping > Speed.
- Create Keyframes. …
- Increase speed or decrease speed. …
- Create a ramping effect. …
- Move the entire keyframe.
What is a speed ramp?
Put simply, a speed ramp is a gradual acceleration and/or deceleration of a video clip. As opposed to an abrupt shift in speed, a speed ramp creates a smooth transition between two drastically different speeds.
What are the 4 basic types of interpolation for keyframes?
- LINEAR KEYFRAMES. This is the most basic form of interpolation in After Effects and it utilizes a straight uniform rate of change between two keyframes. …
- Auto Bezier. …
- CONTINUOUS BEZIER. …
- BEZIER KEYFRAMES. …
- HOLD KEYFRAMES.
What does F9 do in After Effects?
F9 adds and easy ease to your keyframes which will immediately get your motion looking better, and once you learn the secrets of the graph editor will be one of the starting points to fine tuning your animation to perfection.
How do I see keyframes in After Effects?
Sometimes you’ll need to see all of your keyframes at the same time. To do this simply select your layer and hit the U key. This also works across multiple layers if you want to see the keyframes for your entire composition.
How can I speed up my animation?
- Go to the Settings.
- Scroll down and select System.
- You should now find Developer options near the bottom of the list.
- Scroll down until you reach the Drawing section.
- Here you’ll find three different Animation scale settings, which will all be set to 1x by default: …
- Change each one to .
Can the speed of the animation can be adjusted in the work area?
Answer: yes it can adjust the animation fast and slow . it is True.
How do you change the playback speed in blender?
Select the clip and Add ‣ Effect ‣ Speed Control effect strip. Click to drop it and press N to get the Properties. Uncheck the Stretch to input strip length option in the Effect Strip section. Set the Speed factor to be the factor by which you want to adjust the speed.
Apply and control speed changes in After Effects
When you animate a property in the Graph Editor, you can view and adjust the rate of change (speed) of the property in the speed graph. You can also adjust speed for spatial properties in the motion path in the Composition or Layer panel.
In the Composition or Layer panel, the spacing between dots in a motion path indicates speed. Each dot represents a frame, based on the frame rate of the composition. Even spacing indicates a constant speed, and wider spacing indicates a higher speed. Keyframes using Hold interpolation display no dots because there is no intermediate transition between keyframe values; the layer simply appears at the position specified by the next keyframe. (See Motion paths.)
Keyframe interpolation
Interpolation is the process of filling in the unknown data between two known values. You set keyframes to specify a property’s values at certain key times. After Effects interpolates values for the property for all times between keyframes.
Because interpolation generates the property values between keyframes, interpolation is sometimes called tweening. Interpolation between keyframes can be used to animate movement, effects, audio levels, image adjustments, transparency, color changes, and many other visual and audio elements.
After you create keyframes and motion paths to change values over time, you may want to make more precise adjustments to the way that change occurs. After Effects provides several interpolation methods that affect how the in-between values are calculated.
Temporal interpolation is the interpolation of values in time; spatial interpolation is the interpolation of values in space. Some properties—such as Opacity—have only a temporal component. Other properties—such as Position—also have spatial components.
Video Tutorial: How to Fine-Tune Keyframes in Adobe After Effects
Cover image via
Keyframes bring an After Effects project to life, so in this video tutorial, we take an important look at how to work with them.
There are a number of different ways to fine-tune animations via keyframes, from the keyframe assistant to the graph editor. Let’s have a closer look at all of the ways to work with keyframes in Adobe After Effects.
Adjust Values
In After Effects, you can make adjustments to keyframe values via the Timeline and Composition panels. A more precise method for changing a value is by simply double-clicking a keyframe in the Timeline panel. This will bring up a dialog box that includes additional options, such as the ability to view properties via different units.
Change Interpolation
Interpolation influences how a value changes over space and time. With either one or multiple keyframes selected, navigate to Animation and select Keyframe Interpolation. Here you can change the interpolation of both spatial and temporal keyframes. You can even set keyframes to automatically adapt to others by selecting Rove Across Time. This is a pretty in-depth topic, so be sure to check out my tutorial on the subject.
Move Motion Paths
A great way to adjust spatial keyframes is to manipulate them directly in the composition panel. Simply click and drag keyframes to reposition them, and make subtle adjustments to motion paths via bezier curves. Add, delete, and further manipulate keyframes with the Pen tool. Dots will give you a quick reference of the speed of an animation, and roving keyframes will automatically adjust in the timeline as you move them around in the composition panel.
Modify Speed
The timeline is an obvious place to make adjustments to keyframe values in time. If, however, you want more precise control over the speed and values of your keyframes, then click on the Graph Editor button. This layout allows users to use bezier curves to make specific tweaks to keyframe speed, velocity, influence, and interpolation. Speaking of velocity, if you’d like to get even more specific with velocity values, select a keyframe and go to Animation > Keyframe Velocity.
View Keyframe Data
There are a number of ways to view keyframe information. The Info panel shows timecode as well as spatial and temporal interpolation. To view all of the keyframes within a Timeline, press the U key. Right-click on a keyframe to get a quick view of the values of the attribute — as well as a number of navigation and selection tools. You’ll also have shortcuts to all of the tools in the Animation menu. Last but not least, check out the Keyframe Assistant menu for a number of creative options.
That’s it! Now go fine-tune those After Effects keyframes.
Interested in the songs we used in this video?
Looking for more After Effects tutorials? Check these out.
How do you keyframe velocity in after effects? – YYCnewCentraLlibrary.com
How do you keyframe velocity in after effects?
Select the keyframe you want to edit, and then choose Animation > Keyframe Velocity. Enter values for Speed for Incoming and Outgoing Velocity. Enter a value for Influence to specify the amount of influence toward the previous keyframe (for incoming interpolation) or the next keyframe (for outgoing interpolation).
Is there a shortcut for keyframe in after effects?
AFTER EFFECTS POWER TIP: Alt/Option + the shortcut will also create a keyframe (ex. Alt/Opt + P creates a keyframe for Position).
What is the keyboard shortcut for keyframe?
Keyboard shortcuts for animation
Keyboard shortcut Action Shift+Insert Update or set a keyframe. If a keyframe exists at the current time, it is updated. Otherwise, a new keyframe is inserted at the current time between two keyframes. Ctrl+Shift+Delete Delete the current keyframe.
What does easy ease do in AE?
In After Effects, Easy Ease helps you automatically adjust the speed of a keyframe. Instead of calling up the Graph Editor every time you want to “Easily” Ease, you can simply use their shortcuts. You can apply Easy Ease (which lets you ease the speed coming both into and out of selected keyframes) by pressing F9.
How do you undo AE?
To undo a completed action, press Command + Z.
What does F10 do after effects?
Adobe After Effects CC
Shortcutlist Tips Switch to 3D view 1, 2 or 3 F10 – F12 F10 – F12 Set marker at current time (works during preview and audio-only preview) * on numeric keyboard * on numeric keyboard Set and number a composition marker (0-9) at the current time Shift 0-9 Shift 0-9 Go to a composition marker (0-9) 0-9 0-9
Which shortcut key do we use to convert an object to symbol?
F8 key is used for converting an object into symbol.
What is the shortcut key to activate the free transform?
Shortcuts for Free Transform — When using Free Transform: Command + T (Mac) | Control + T (Win) displays the Free Transform bounding box. Position the cursor outside of the transformation handles (the cursor becomes a double headed arrow), and drag to rotate.
How can you reach the exact spot of the footage?
To get into the exact spot of footage, in the control panel below the composition screen there is a tab showing time. On double clicking the tab, it will open a window where you can adjust the time and you can reach to the exact spot of the footage.
How do you create a keyframe in after effects?
After Effects creates a keyframe at the current time for that property value. Choose Animation > Add [x] Keyframe, where [x] is the name of the property you are animating. Click the keyframe navigator button for the layer property. Choose Animation > Add [x] Keyframe, where [x] is the name of the property you are animating.
How do I move CTI to keyframe in after effects?
Move the current-time indicator (CTI) to a keyframe. After you set the initial keyframe for a property, After Effects displays the keyframe navigator. You can use the keyframe navigator to move from keyframe to keyframe or to set or remove keyframes.
How to change the velocity and speed of a keyframe?
1. setting the influence handles (each for their own keyframe, one does not affect the other) these two settings can be accessed through the graph editor: extracting/contracting handles for influence and moving up and down for incoming/outgoing speed. Alternatively, you can use the keyframe velocity window (Ctrl+Shift+k) and change them manually.
Which is the best keyboard shortcut for after effects?
The graph editor is essential for smoothing out your animations in After Effects. To quickly call up the graph editor select a layer and hit Shift + F3. To search your timeline hit command + F. This will activate the search box where you can look for a specific layer by name.
4. Keyframe Velocity: The secrets to creating sophisticated animations
4 Keyframe Velocity
The secrets to creating sophisticated animations
In the previous chapter, you learned how to animate. In this chapter, you will learn through a series of exercises how to improve your animations by focusing on the timing and speed changes of your movements. We’ll start by showing you a few quick tricks, then turn our attention to the Graph Editor: an industrial-strength tool for refining your animations. We’ll end our keyframe velocity tour with Roving and Hold keyframes.
Linear keyframes are denoted by diamonds in the Timeline panel (A). Select one and choose Animation > Keyframe Assistant > Easy Ease (below): This will convert it to a Bezier keyframe that gracefully starts and stops (B).
Easy Ease
Keyframed values in the …
키워드에 대한 정보 keyframe velocity after effects
다음은 Bing에서 keyframe velocity after effects 주제에 대한 검색 결과입니다. 필요한 경우 더 읽을 수 있습니다.
이 기사는 인터넷의 다양한 출처에서 편집되었습니다. 이 기사가 유용했기를 바랍니다. 이 기사가 유용하다고 생각되면 공유하십시오. 매우 감사합니다!
사람들이 주제에 대해 자주 검색하는 키워드 Learn From the Pros | Keyframe Easing with Sergei Prokhnevskiy | Adobe After Effects Tutorial
- Adobe Creative Cloud
- Creative Cloud
- Adobe Cloud
- After Effects
- adobe after effects
- after effects tutorial
- after effects animation
- after effects tutorials
- after effects basics
- how to use after effects
- adobe after effects cc
- learn after effects
- adobe after effects tutorial
- motion graphics
- after effects for beginners
- motion graphics tutorial
- after effects motion graphics
- motion graphics after effects
- after effects tutorial motion graphics
- learn motion graphics
Learn #From #the #Pros #| #Keyframe #Easing #with #Sergei #Prokhnevskiy #| #Adobe #After #Effects #Tutorial
YouTube에서 keyframe velocity after effects 주제의 다른 동영상 보기
주제에 대한 기사를 시청해 주셔서 감사합니다 Learn From the Pros | Keyframe Easing with Sergei Prokhnevskiy | Adobe After Effects Tutorial | keyframe velocity after effects, 이 기사가 유용하다고 생각되면 공유하십시오, 매우 감사합니다.