
Contents
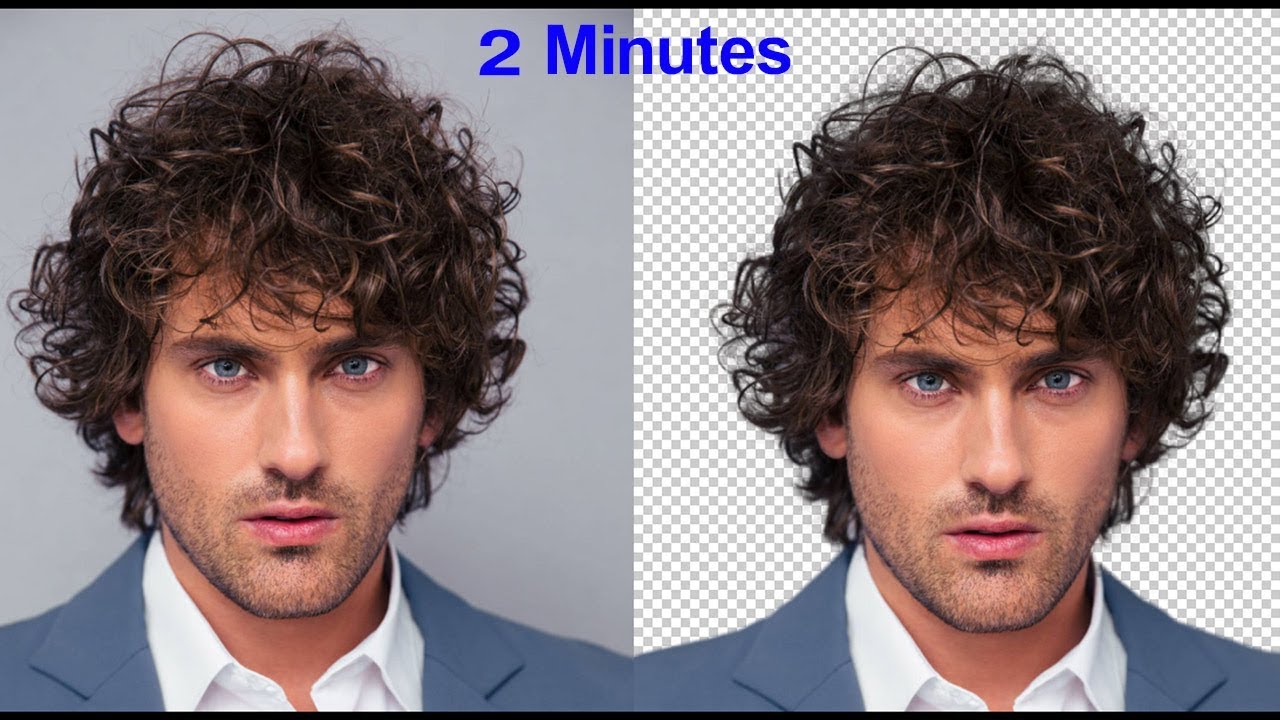
Cut Out Hair 2 MINUTES Photoshop Tutorial 2019 – Easy Tutorial
นอกจากการดูบทความนี้แล้ว คุณยังสามารถดูข้อมูลที่เป็นประโยชน์อื่นๆ อีกมากมายที่เราให้ไว้ที่นี่: ดูความรู้เพิ่มเติมที่นี่
Hi Friends, welcome back to other photoshop tutorial,
In this tutorial, you should learn how to how to cut out hair in adobe photoshop.
My Other Awesome Tutorials:
Circular pixel stretch effect in photoshop:
https://youtu.be/Xf0xCGtTmW4
Cinematic Logo Intro in After Effects:
https://youtu.be/bg_wCI7z63U
SPLASH LOGO ANIMATION IN AFTER EFFECTS
https://youtu.be/k4ROnuLg8qc
Elegant Logo Animation in After Effects:
https://youtu.be/mbkV_Z7_Mg
Glitch Logo Animation
https://youtu.be/tGPK8F7n08w
DISINTEGRATION EFFECT IN AFTER EFFECTS:
https://youtu.be/sayCha30sWY
PREDATOR INVISIBLE EFFECT IN AFTER EFFECTS:
https://youtu.be/EbHQLRJcbY
FIRE LOGO ANIMATION TUTORIAL IN AFTER EFFECTS:
https://youtu.be/aP_8JturRc
CINEMATIC SHATTER TITLE ANIMATION IN AE:
https://youtu.be/sD9xIs6xJpM
VENOM 2 CARNAGE title animation in after effects:
https://youtu.be/GCaU40OZCt0
Smooth Transition Tutorial in ae:
https://youtu.be/gBtQa02QBDE
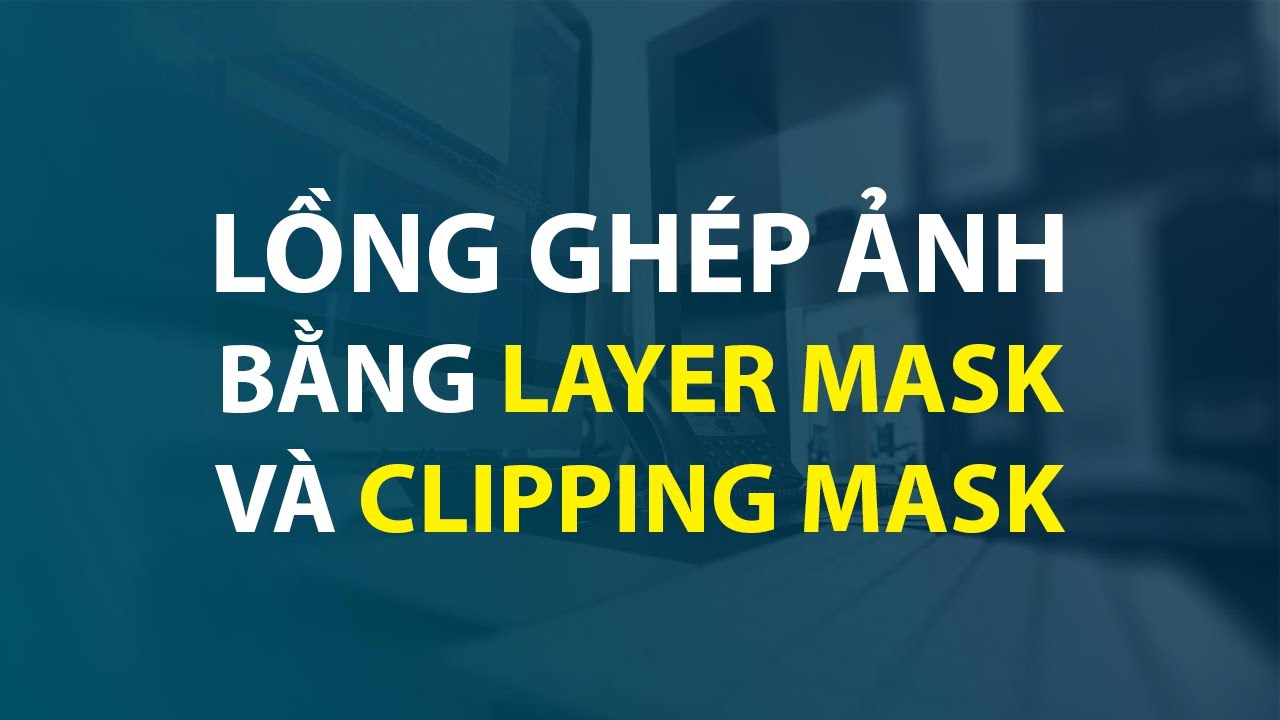
Lồng Ghép Ảnh Bằng Layer Mask Và Clipping Mask | Thùy Uyên
🔥 HÌNH ẢNH SỬ DỤNG TRONG VIDEO: (đang cập nhật)
🔥 NỘI DUNG TRONG VIDEO
🔥 CÓ THỂ BẠN MUỐN XEM
🔥 THAM GIA CỘNG ĐỒNG CÙNG UYÊN NHÉ!
1. Nhóm Photoshop: http://bit.ly/FB_PhotoshopGroup
2. Nhóm Illustrator: http://bit.ly/FB_IllustratorGroup
3. Nhóm Thiết kế Đồ họa: http://bit.ly/FB_TKDHgroup
🔥 DONATE
Nếu bạn thích những video của mình, có thể Donate mời mình 1 ly cafe tại đây nhé:
♥️ Dành cho người sống tại nước ngoài: https://www.paypal.me/thuyuyendesign
♥️ Dành cho người sống tại Việt Nam: https://unghotoi.com/thuyuyendesign
♥️ Hoặc chuyển khoản trực tiếp qua ngân hàng:
Số tài khoản: 0121000601095
Chủ tài khoản: Nguyễn Ngọc Thùy Uyên
Ngân hàng Vietcombank Chi nhánh Đồng Nai.
🔥 PHẦN MỀM KHUYÊN DÙNG
♥️ Skylum Luminar AI: http://bit.ly/LuminarAI_ThuyUyen (Sử dụng mã giảm giá THUYUYEN để giảm $10)
♥️ Skylum Aurora HDR: http://bit.ly/AuroraHDR_ThuyUyen (Sử dụng mã giảm giá THUYUYEN để giảm $10)
🔥 MAILBOX
Liên hệ hợp tác | [email protected]
🔥 FOLLOW
các khóa học online | https://thuyuyen.training
blog | https://uyen.vn
facebook | https://facebook.com/thuyuyen88
podcast | https://anchor.fm/thuyuyen
⚠️ Xin vui lòng không cắt và reup videos của kênh dưới mọi hình thức.
Hiện tại Thùy Uyên có 4 kênh YouTube chính thức, chính chủ, với 4 nội dung khác nhau, bao gồm:
1. Thùy Uyên Training Kênh chia sẻ kiến thức về thiết kế đồ họa
https://youtube.com/thuyuyentraining
2. Hi I’m Thùy Uyên Kênh chia sẻ về các vấn đề liên quan đến freelance, quản lý công việc
https://youtube.com/HiImThuyUyen
3. Uyên Truyện Kênh chia sẻ các nội dung truyện audio
https://youtube.com/UyenTruyen
4. Đọc sách cùng Thùy Uyên Kênh chia sẻ nội dung sách nói (audio books) có bản quyền
https://youtube.com/ThuyUyenSachNoi
Các bạn hãy subscribe đăng ký theo dõi kênh để ủng hộ cho Thùy Uyên nhé!
♥ Chân thành cảm ơn các bạn đã luôn ủng hộ và đồng hành cùng Thùy Uyên ♥
thuyuyen
Hướng dẫn tải và cài đặt Photoshop bản chuẩn cho tất cả các máy | Sử dụng trọn đời
Học Photoshop Online chỉ 190.000 đ. Liên hệ Zalo 0332681993.
Trong video này sẽ hướng dẫn các bạn cách tải và cài đặt Photoshop cho tất cả các máy, bao gồm Windows 7/8/10, 32 bit và 64 bit đều có thể sử dụng.
Đây là Photoshop phiên bản CC, một phiên bản mới và được cải tiến nhiều hơn so với các phiên bản CS trước đó.
LƯU Ý: Mình không khuyến khích các bạn sử dụng bản [email protected], nếu có thể các bạn hãy mua bản quyền chính hãng Adobe Photoshop CC từ Adobe.
Link mua: https://www.adobe.com/
Nếu hãng Adobe thấy quyền lợi của mình bị xâm phạm hoặc có vấn đề về quản quyền, hãy gửi giúp tôi 1 email tới địa chỉ: [email protected]. Tôi sẽ gỡ bỏ video ngay lập tức theo yêu cầu của hãng.

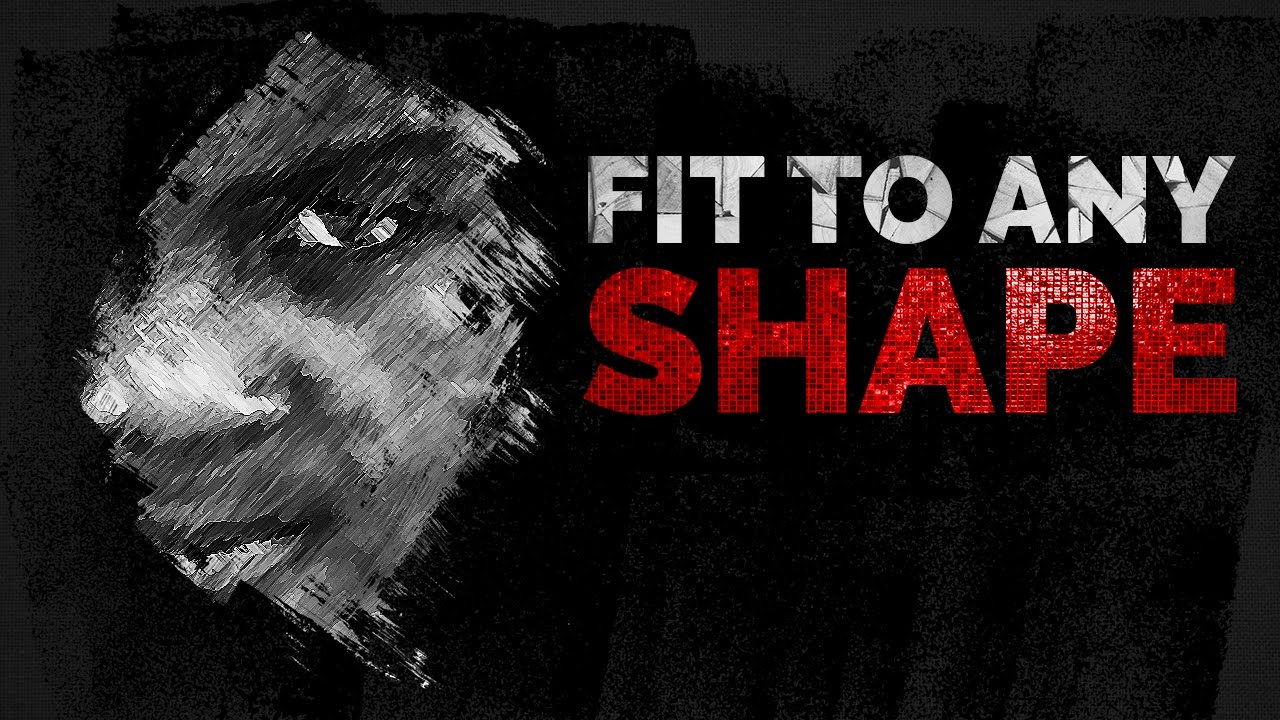
Insert Image Into A Shape | Photoshop Clipping Mask Tutorial
insert image into any shape | Photoshop clipping mask tutorial
Official Site: http://www.webtrickshome.com/
Facebook: https://www.facebook.com/webtrickshome/

Fit Image to Shape in Photoshop | Clipping Mask Tutorial
Learn how to fit image in circle, square, triangle or any simple or complex shape in Photoshop. In this video, we are going to learn how to fit any image to any object, be it an abstract brush stroke, or even text, in Photoshop. Using Clipping mask we are able to make the lower layer act as a placeholder the the above layer on while clipping mask is applied.
Ever wanted your picture to fit into a heart shape or a circle like many social media platforms? If that’s sounds cheesy, there’s more to it. Using Photoshop and a simple technique of clipping mask we can fit any image into an object, other image or text. In this video, I have shown you all of these three scenarios where you might want to confine your images to a shape or you want to show a pattern only through that shape like a cutout. Doesn’t matter how complex or simple the shape or the image is, all clipping mask does is that, it makes any object in the layer below the layer in which clipping mask has been applied to act as a placeholder for the image which is present in the clipping mask layer. The clipping mask layer can also be an adjustment layer. In that way, a clipping mask layer only allows the effects on the object of the layer below it. It acts as a mask using the layer below as a reference. To summarize it, simply, a Clipping Mask is nothing but a mask on any kind of layer where the mask is nothing but the layer that it below the clipping mask layer.
This can be very useful as you can just create placeholders like rectangles and circles if you are designing a Magazine or a Brochure and just import the images into layers in the form of clipping masks instead of fiddling with the size and cropping out again and again. This can be fitting picture or an image to a box, or the area that you might have defined near the text.
The great thing about the clipping mask tool is that it can be applied to anything. Be it a shape, object, image, brush strokes and even an adjustment layer. In this video, we are going to take advantage of this to fit images, object or text to almost anything.
Firstly, we need to make or import the shape layer. This can be a transparent png, or a vector shape or something that you created with a transparent background. It can also be text. But, there are two criteria, one, this has be to a separate shape on a separate layer and two, it must not have a background. If it has a background, clipping mask won’t be able to identify which part of the image would you want to make a placeholder.
Secondly, once your object or the structure is ready, the second step is to bring the image that you want to fit to the shape on the later above the shape layer that you just made.
Thirdly, press and hold the Alt key on Windows, Option key on Mac and move the cursor in between the two layers. You would see that the cursor has changed to a rectangle and a down arrow. When that happens, click the mouse button and Clipping Mask will be applied.
Thanks for reading till the end, I must let you know that there is a surprise at the end of the video, so, keep watching. (Don’t skip it, you might miss)
Thank you so much for watching! If you have any, questions, suggestions or feedback, do leave them down in the comments below and I will get back to you ASAP.
นอกจากการดูหัวข้อนี้แล้ว คุณยังสามารถเข้าถึงบทวิจารณ์ดีๆ อื่นๆ อีกมากมายได้ที่นี่: ดูวิธีอื่นๆWIKI